Making Python not awful with containers
Overview
Teaching: 10 min
Exercises: 10 minQuestions
Objectives
Run Python applications using a container
Use Jupyter Notebook in a container
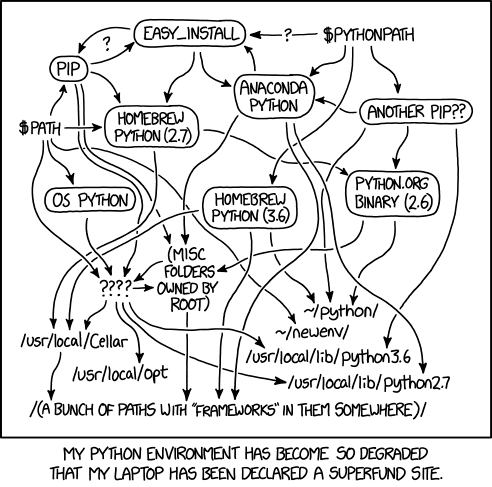
Why can Python be awful?
Python is a great language for doing all kinds of work, but sometimes it can present issues…
Run a basic Python script from a container
Let’s start by running a very simple hello world example with a basic Python container. To start, cd into the demo directory:
$ cd $SC19/demos/09_python
There is an executable script called helloworld.py.
Use a Python container
Can you use Singularity to run
helloworld.pyusing the containerpython:3-slim?Solution
$ singularity exec docker://python:3-slim ./helloworld.pyHello World!
Build a Python/Jupyter container for machine learning
We want to be able to leverage other Python modules to do some actual work, so we need to build Python containers that use tools like pip and conda.
For this example we’ll try installing some ML packages to run a logistic regression model.
Design the def file
Think of how you would write a def file that
- uses
jupyter/datascience-notebook:latestfrom Docker Hub as base image- installs the Plotly package via
/opt/conda/bin/conda install plotly=3.10- we’ll use this image as an interactive session, so do not care about
%startscriptWhen you are done check this solution
Bootstrap: docker
From: jupyter/datascience-notebook:latest

%post
  /opt/conda/bin/conda install plotly=3.10
Note that we need the full path to the conda executable when using the base image from jupyter/. Because of the way the Docker image was built, without the full path the binary would not be found.
Now, change directory to logistic-regression:
$ cd $SC19/demos/09_python/logistic-regression
Build the container image
The def file above is present as
plotly.def. Use it to build an image calledplotly.sif. Hint: remember to usesudo!Solution
$ sudo singularity build plotly.sif plotly.def
Run an interactive machine learning session with Jupyter in the container
In the same directory we have both a Jupyter notebook (LogisticRegression.ipynb) and source code (logreg.py) that we’re going to use.
After you’ve built your image we’ll start up the container and log into our Jupyter notebook server (note the idiomatic expression for Jupyter Notebooks with Singularity):
$ singularity exec -C -B $(pwd):$HOME plotly.sif jupyter notebook --no-browser --port=8888 --ip 0.0.0.0 --notebook-dir=$HOME
Here the -C flag is to completely insulate the container from the host, including the use of a volatile /run directory instead of the host one.
Communication ports
In order to be able to use the web server, you need to ensure that the machine you are running Singularity from has opened the communication port you’re using, in this case
8888.
In cloud virtual machines this will typically involve some setup in the system dashboard.
The machines we provided for this workshop are ready to go in this regard.
The output on the terminal will look like:
[I 14:29:20.678 NotebookApp] JupyterLab extension loaded from /opt/conda/lib/python3.7/site-packages/jupyterlab
[I 14:29:20.679 NotebookApp] JupyterLab application directory is /opt/conda/share/jupyter/lab
[I 14:29:20.682 NotebookApp] Serving notebooks from local directory: /home/ubuntu
[I 14:29:20.682 NotebookApp] The Jupyter Notebook is running at:
[I 14:29:20.682 NotebookApp] http://nimbus1:8888/?token=b2a37a0b893cdbb5949aaad1d27e8fcff80841b0a9ae5b1c
[I 14:29:20.682 NotebookApp]  or http://127.0.0.1:8888/?token=b2a37a0b893cdbb5949aaad1d27e8fcff80841b0a9ae5b1c
[I 14:29:20.682 NotebookApp] Use Control-C to stop this server and shut down all kernels (twice to skip confirmation).
[C 14:29:20.688 NotebookApp]

    To access the notebook, open this file in a browser:
        file:///home/ubuntu/.local/share/jupyter/runtime/nbserver-17-open.html
    Or copy and paste one of these URLs:
        http://nimbus1:8888/?token=b2a37a0b893cdbb5949aaad1d27e8fcff80841b0a9ae5b1c
     or http://127.0.0.1:8888/?token=b2a37a0b893cdbb5949aaad1d27e8fcff80841b0a9ae5b1c
Now, locate the last line in the output, and copy in the clipboard the alphanumeric string that follows after token=.
Open your web browser, and type as URL <Singularity machine IP Address>:8888. Paste the clipboard content in the Token field and click on Login.
We’re in the Jupyter Notebook!
From the list of files & directories, click on LogisticRegression.ipynb, and we’ll go through the notebook.
When we’re done, press twice Ctrl-C to kill the Notebook.
Running Python code without Jupyter
Because our Jupyter container has a functioning version of Python installed, we can also use it to run our Python code directly from the command line:
$ singularity exec plotly.sif python ./logreg.py
As a result you should now have a plot saved as a .png file.
Bonus: another machine learning example
If time allows, let’s try another ML example. We’ll build another container image that uses Jupyter. For this this example, change directory to:
$ cd $SC19/demos/09_python/image-classification
In here we have some image data (dataset/), the Jupyter notebook FlowerClassification.ipynb, and a def file.
Write the def file for your Jupyter container
Similar to before, keep the following in mind:
- use
jupyter/datascience-notebook:latestfrom Docker Hub as base image- install the package mahotas with
conda- install the package opencv-python using
pip- use the complete paths of
condaandpip, i.e./opt/conda/bin/- do not care about
%startscriptSolution
Bootstrap: docker
From: jupyter/datascience-notebook:latest

%post
  /opt/conda/bin/conda install mahotas
  /opt/conda/bin/pip install opencv-python
Build your own container
The current directory has a copy of the def file,
class.def; use it to build the image fileclass.sif.Solution
$ sudo singularity build class.sif class.def
Launch the Jupyter interactive session
Use the same syntax described above.
Solution
$ singularity exec -C -B $(pwd):$HOME class.sif jupyter notebook --no-browser --port=8888 --ip 0.0.0.0 --notebook-dir=$HOME
Now, locate the last line in the output, and copy in the clipboard the alphanumeric string that follows after token=.
Open your web browser, and type as URL <Singularity machine IP Address>:8888. Paste the clipboard content in the Token field and click on Login.
From the list of files & directories, click on FlowerClassification.ipynb, and we’ll go through the notebook.
When we’re done, press twice Ctrl-C to kill the Notebook.
Key Points
You can use idiomatic syntaxes of
singularity execto launch interactive sessions of Jupyter Notebooks, similar to RStudioRun the same workflow through command line or via Notebook using the same container